Patch Size and Placement: What Fits Where
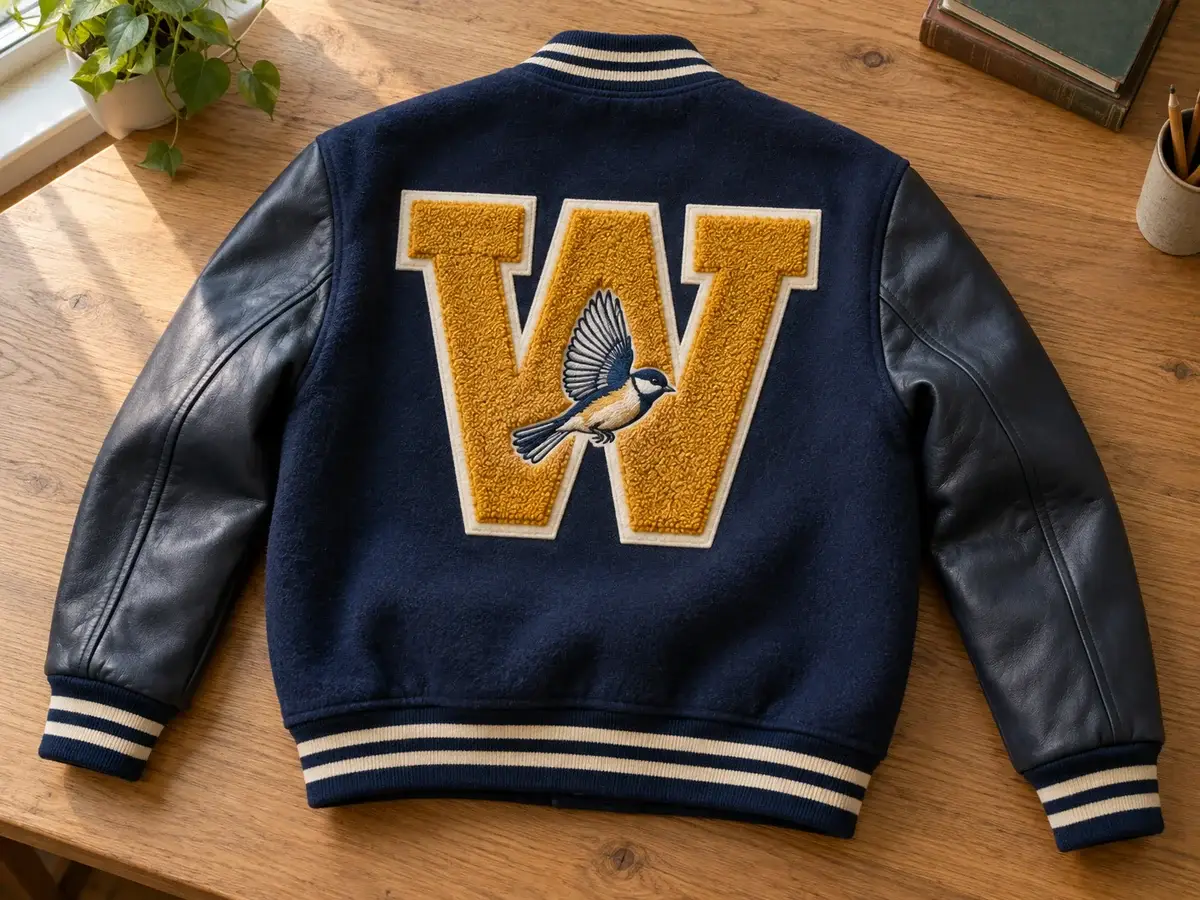
Almost every sizing question has the same answer, which is that the garment decides. A patch is not sized by its design or by what looks right on a screen; it is sized by the flat area it actually has to sit in. This page gives you common starting figures for the usual placements and then shows you how to take the measurement that overrides all of them.
Two questions sit underneath and people conflate them. The first is what the garment can physically carry, which is a property of the garment. The second is what the material can hold, which is a property of the construction. Get either wrong and the patch is wrong, so check them together rather than settling size first and discovering the material problem later.
The figures below are what most orders in each placement land on. They are useful for orienting yourself and they are not standards, machine limits or specifications. A chest badge on a polo and the same badge on a work jacket are different numbers, and neither of them is wrong. Take your own measurement and use these to sanity-check it.
Applied size examples
Measure the available surface first.
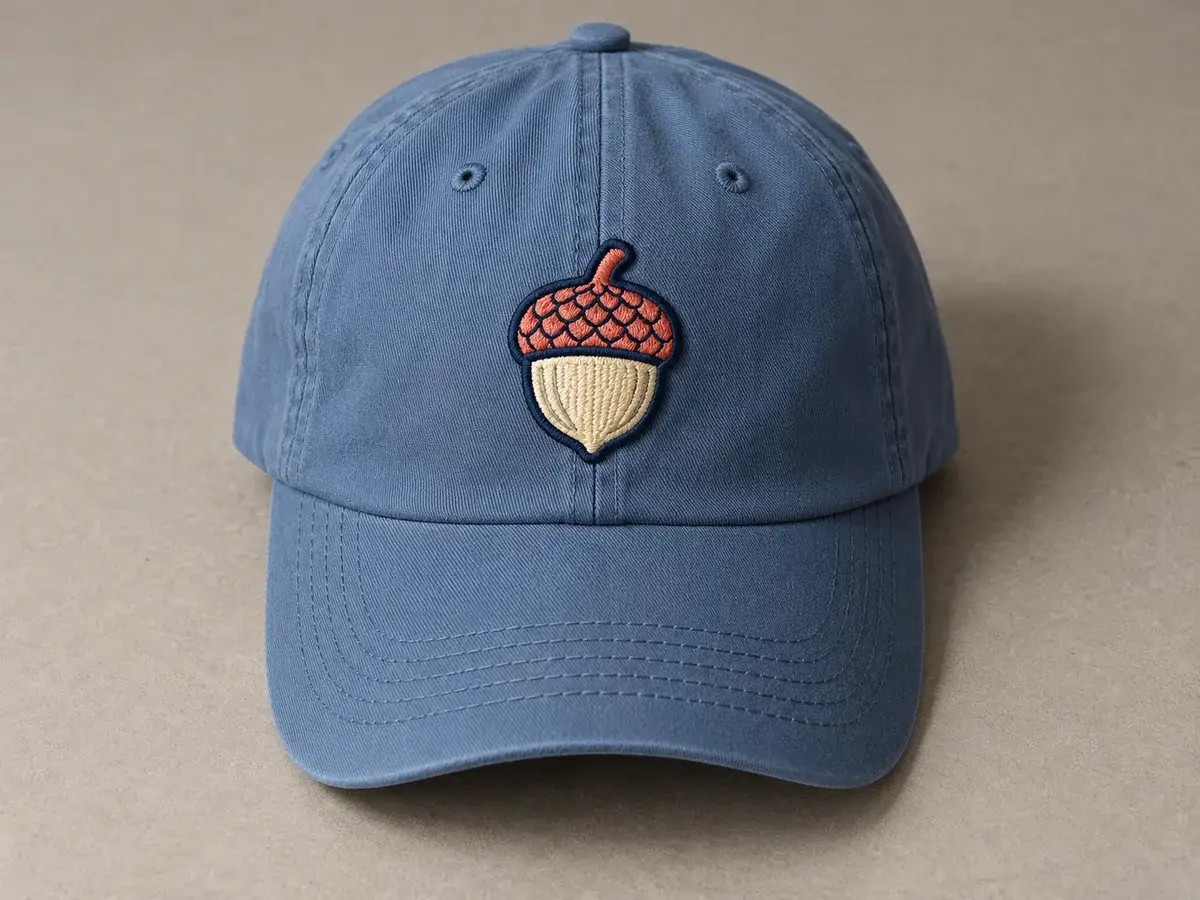
Cap front
Constrained by the seams above and below
Explore a relevant material →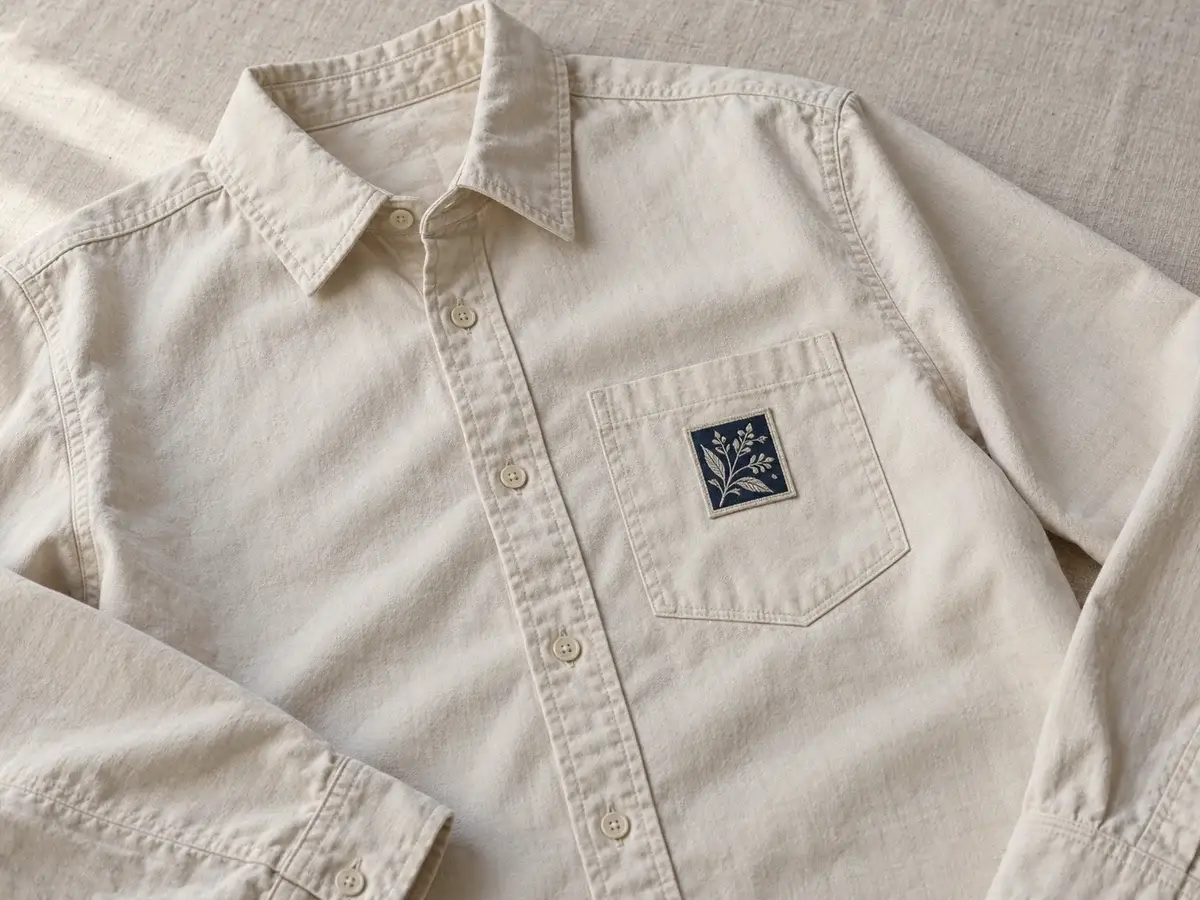
Left chest
Constrained by the pocket and the placket
Explore a relevant material →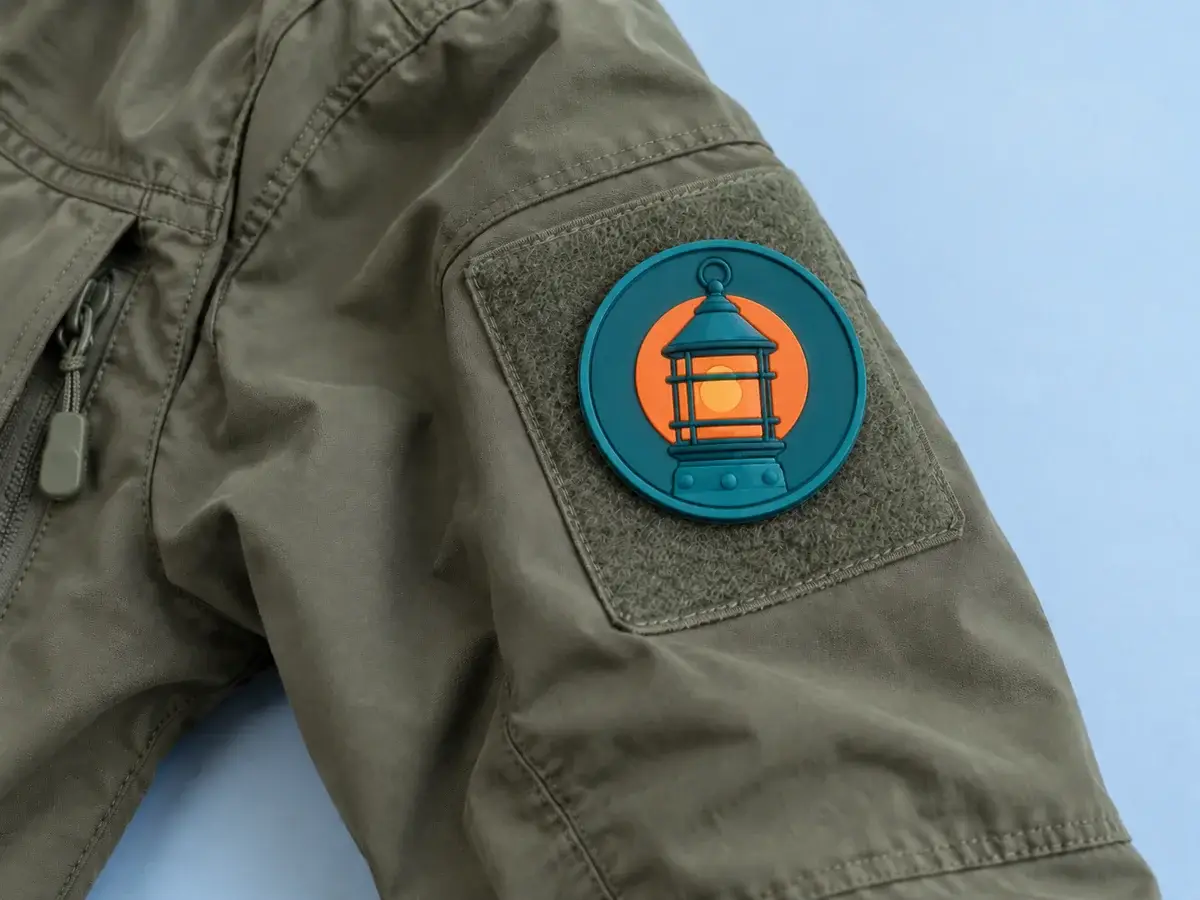
Upper sleeve
Constrained by the sleeve seam, and it curves
Explore a relevant material →Jacket back
Constrained by the flat panel between the side seams
Explore a relevant material →Table 1: the garment's limit
What Fits Where
Read this as a starting point per placement, not a rule. The right column names what usually constrains the size, which is more useful than the number itself, because that constraint is what you should be measuring on your own garment.
| Placement | Typical size | Notes |
|---|---|---|
| Cap front | Around 2.5 in high is common | The flat area between the seams, which is smaller than the panel looks and differs between cap styles. |
| Shirt or polo chest | Around 3 to 3.5 in wide is common | Pockets, plackets and the seam line constrain this more than the fabric does. |
| Jacket chest | Around 3.5 to 4 in wide is common | More room than a shirt, but zips and panel seams still set the usable width. |
| Sleeve or shoulder | Around 4 in is common | The sleeve seam is the constraint. Shoulder placements are tighter than they look once the seam is allowed for. |
| Jacket or vest back | Around 10 to 12 in wide is common | The flat panel between the side seams, measured on the size most of your run will be. Vests give less room than jackets. |
| Half-back or center piece | Around 6 to 8 in wide is common | Leave room for whatever else the back will carry, including pieces you have not ordered yet. |
| Name tape or strip | Around 4 to 5 in long is common | The longest name in your set decides the letter height, and the letter height decides the length. |
| Gear loop field | Around 2 x 3 in is common | Set entirely by the loop panel on your carrier. Measure the usable field, not the panel including its stitching. |
Table 2: the material's limit
What Each Material Can Hold
Four maximums are still missing: leather, printed, 3D puff and silicone. Real construction limits exist for each; we have not confirmed the exact number yet, so the honest answer is "not on record" rather than a guess.
| Material | Detail limit | Colors included | Finished size |
|---|---|---|---|
| Embroidered | Set by the artwork and confirmed on the proof | Set by the artwork and confirmed on the proof | Small name strips and full back panels are both made here |
| Chenille | Detail is embroidered on top of the loops | Up to nine | Around 3 in and up. Large jacket-back lettering included |
| PVC | Molded relief, reviewed at finished size | Up to 12 | Set by your artwork and confirmed on the proof |
| Woven | About 2 mm text, where the letterform allows it | Up to 12 | Set by your artwork and confirmed on the proof |
| Leather | Varies by marking method | Six core colors in genuine leather | Set by your artwork and confirmed on the proof |
| Printed | Limited by print resolution at finished size | No practical color limit | Set by your artwork and confirmed on the proof |
| 3D puff | Around 10 mm minimum letter height | Set by the artwork and confirmed on the proof | Set by your artwork and the panel it sits on |
| Sequin | Stitched detail reviewed at finished size | Set by the design and confirmed on the proof | Set by your artwork and the garment |
| Silicone | Varies by relief depth | Up to 12 | Set by your artwork and confirmed on the proof |
Before you order
How to Measure
Two techniques cover almost everything. The first applies to any flat panel, the second to anything curved. Both take a minute and both prevent the most expensive mistake on this site, which is a patch sized from a photograph or from someone else's garment.
Measure the panel, not the garment
Measure the flat area between the seams, not the panel edge to edge and not the garment size. On a jacket back that means the width between the side seams at the height you actually want covered, and the height between the yoke seam and the hem. Then decide how much margin you want around the artwork. Take the measurement on the garment size most of your run will be, because a patch cut for a large overhangs on a small.
On a curve, measure the chord
On a curved surface, such as a cap front, the usable width is the chord across the middle rather than the width at the base. A curved panel narrows as it rises, so a patch sized to the widest point will lift at its top corners. Measure across the middle of where the patch will sit, and if the surface curves in two directions, expect a flexible construction to sit better than a rigid one.